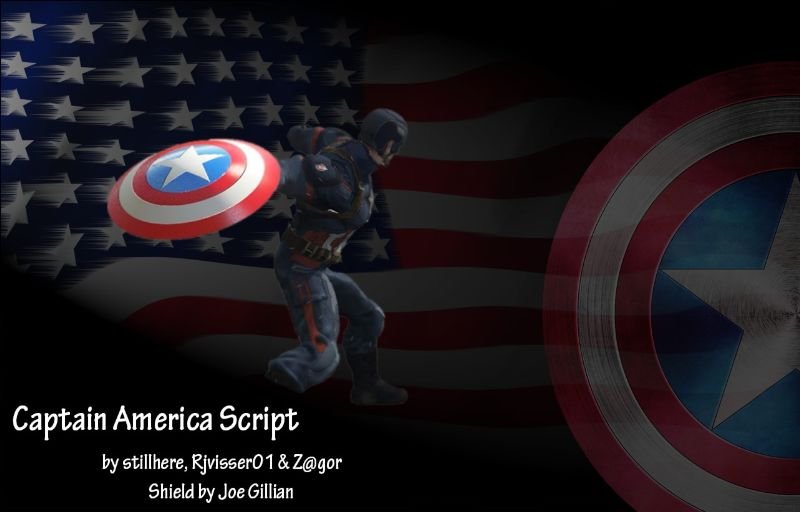
If you have issues, please make sure you installed the shield properly and that you are using the latest ScripthookV.Net.
Requirements
ScripthookV
ScripthookV.NET
OpenIV
Script Communicator Menu (Optional)
Features:
– Aim your shield and throw it in any direction!
– Equip the shield and enable Captain America powers by pressing “i” on your keyboard (you can change the key in the .ini file).
– The shield will immediately return to you after hitting an opponent or a vehicle.
– If you miss, you must wait a certain number of seconds (Default: 6 seconds) before the shield returns back to you.
– If after 20 seconds your shield hasn’t returned to you (ex: you threw it too far or it got stuck somewhere), you must go find and pick up your shield manually or spawn a new shield.
– You can pick up the shield manually by standing close to it and pressing the Sprint key/button.
– You can edit a few aspects of the mod with the included .ini file.
Default controls for keyboard+mouse
Hold the Aim key (right-click) then press X to throw the shield.
Default controls for Gamepad
Hold the Aim/Target button then press the Cover button (RB on xbox, R1 on playstation) to throw the shield.
Installation – First time install:
Make sure you have the requirements installed properly first.
1. Drag the “scripts” folder into your GTA 5 installation directory (same folder where GTA5.exe is located).
2. Launch OpenIV and select Grand Theft Auto 5 Windows.
3. Go to Tools -> ASI Manager and install ASI Loader and OpenIV.ASI if you haven’t already.
4. Go to Grand Theft Auto V\mods\update\x64\dlcpacks and place the “capshield” folder in there.
5. Go to Grand Theft Auto V\mods\update\update.rpf\common\data and extract the “dlclist.xml” that you will find there.
6. Open the dlclist.xml with a text editor and insert this line:
Make sure it lines up with all the other DLC and Add-ons you have installed.
7. Save the file and put it back into the same directory you got it from, overwriting the old one.
8. Now the shield is installed. Press CTRL + “i” to toggle the menu, where you can enable the powers and spawn the shield.
If updating from a previous version:
Replace the previous CapShieldThrow.dll with the new one. Also place the “Captain America Files” folder to your scripts folder. The shield model has been updated in version 2.3, which adds bullet-blocking collision to the shield; replace your old capshield folder with the new one if you want better bullet-blocking.
Credits:
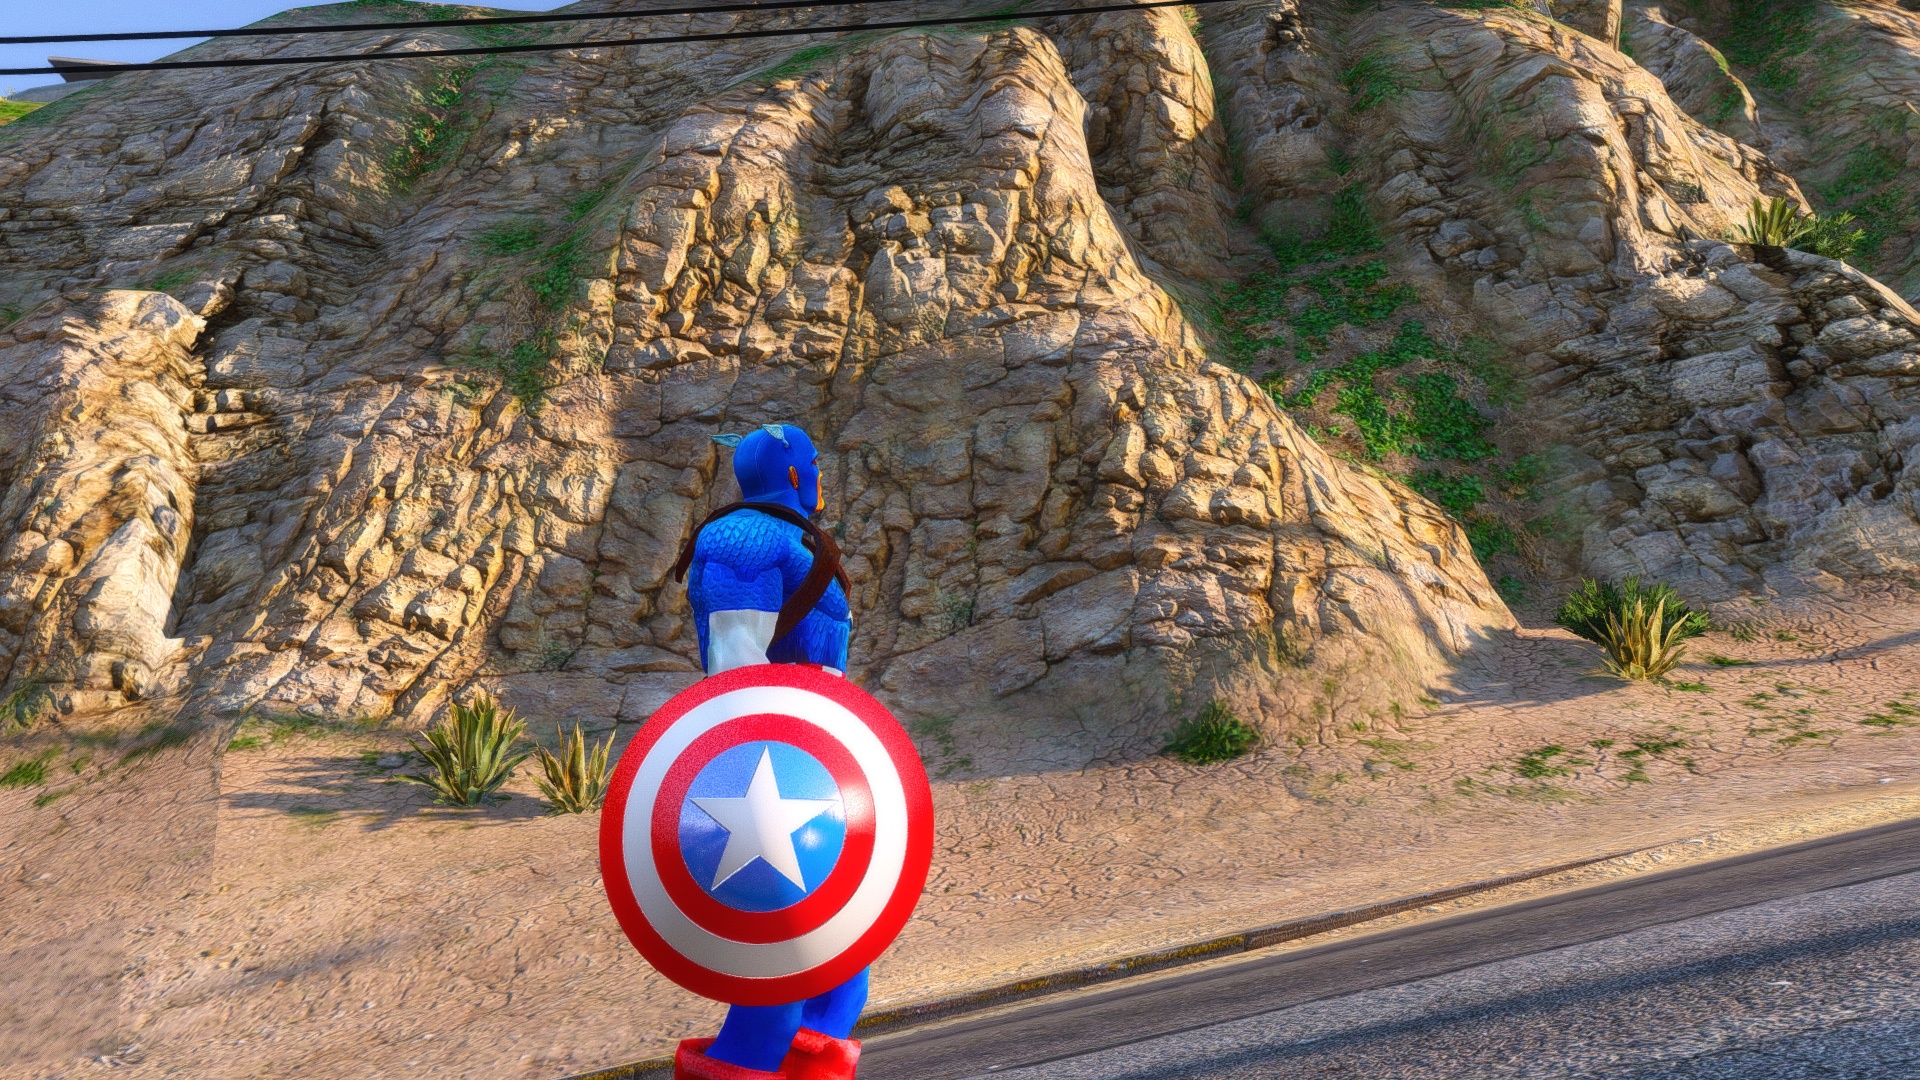
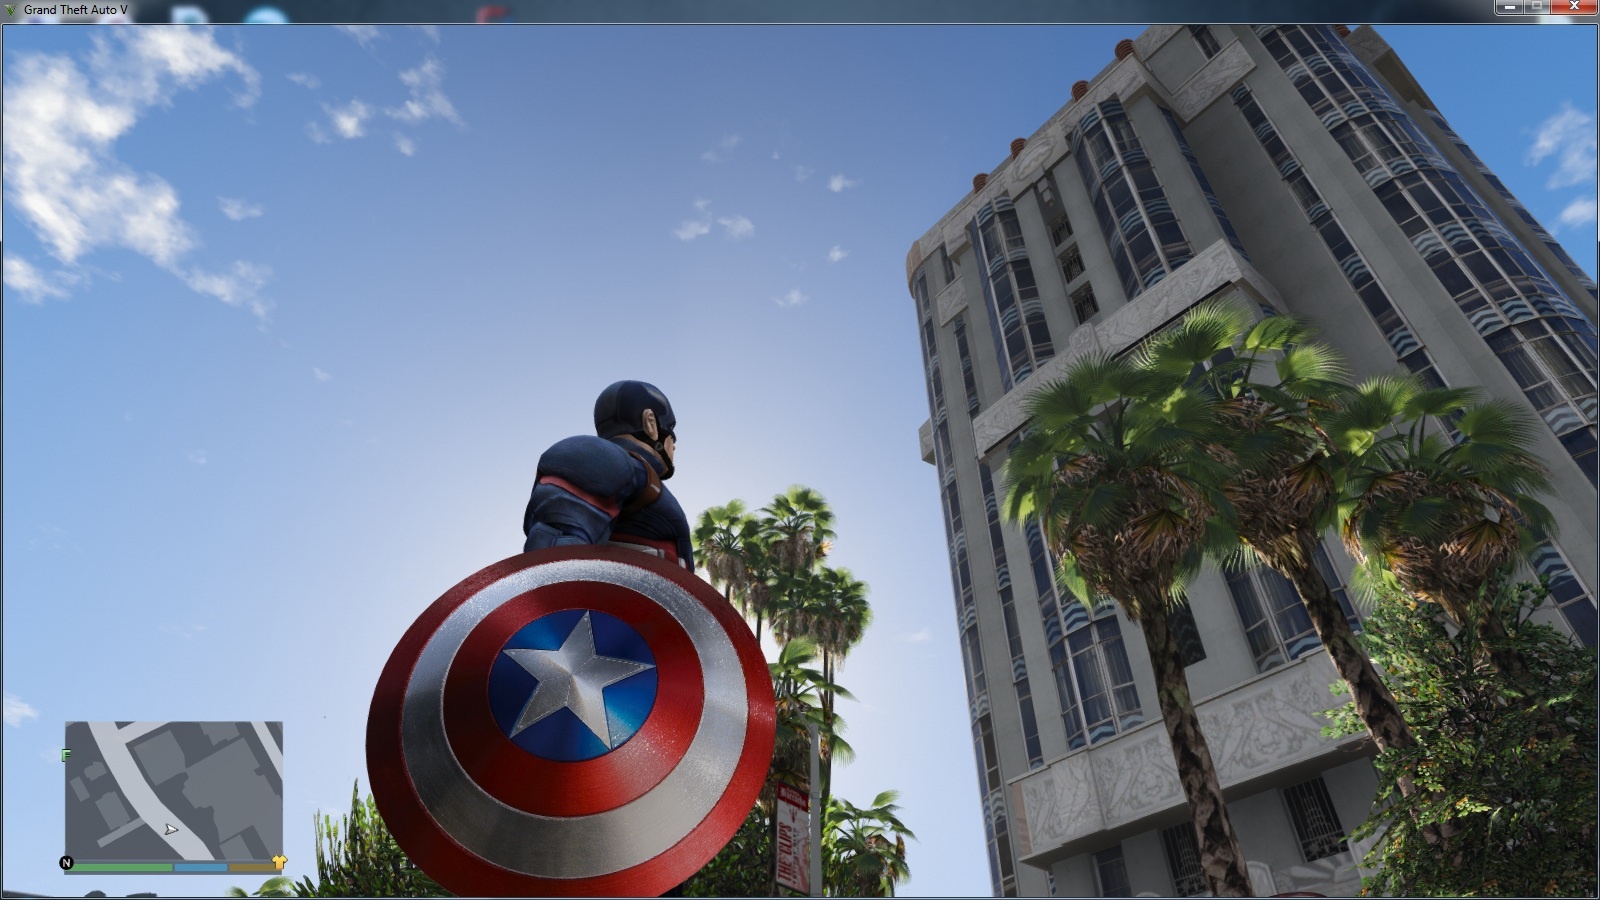
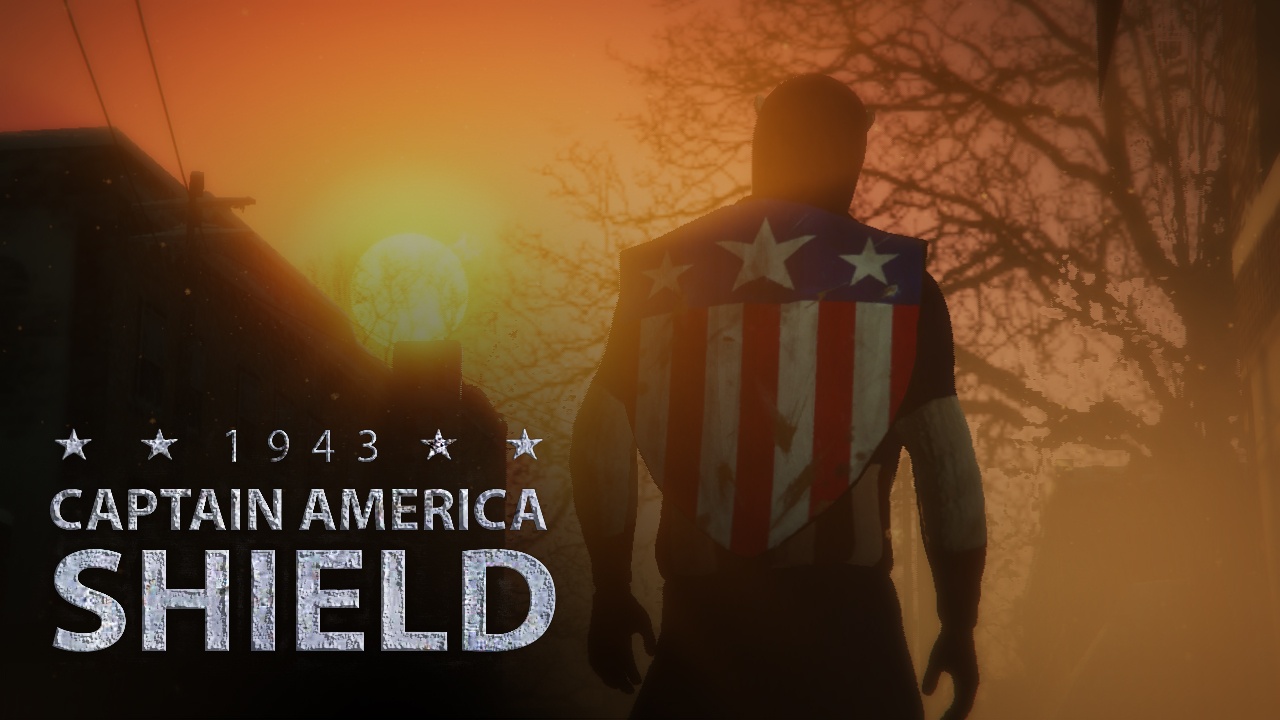
Z@gor for editing, optimizing, and converting the shield to GTA V (not the one shown in the picture though!).
Meestal_Richard for adding collision to the shield model and converting to an add-on. Also, beta testing 😀
LeeC2202 for his wisdom 🙂
JDHauser for the photo 🙂

