


– Mod Contains 1.0.1103.X compatible GTALua.asi
– Mod Contains ‘object unlocker’ (giving ability to spawn almost any object/scene in the game).
– Mod Contains its own ‘MP Vehicles in SP’ unlock.
SINGLE PLAYER ONLY
Community Mod Menu | Trainer by The Community ( Thats You! )
Therefore, if (when) you find a bug/missing feature, its your fault and you should fix it immediately.
==================
== Installation ==
==================
1) Install ScriptHookV
2) Install MS Visual Studio 2013 Redist
https://www.microsoft.com/en-US/download/details.aspx?id=40784
3) Install MS Visual Studio 2015 Redist
https://www.microsoft.com/en-US/download/details.aspx?id=48145
4) Extract Community Mod Menu’s .zip to your GTA5 folder.
dinput8.dll -> activates scripthookv.dll
scripthookv.dll -> activates mods in ASI folder.
ASI\GTALua.asi -> activates GTALua\*
Thus;
!! TO PLAY ONLINE WITHOUT MENU (so you dont get banned) !!
1) Rename dinput8.dll to dinput8.dl_
2) Restart GTA5
!! TO PLAY OFFLINE WITH MENU !!
1) Rename dinput8.dl_ to dinput8.dll
2) Restart GTA5
Mod Menu Controls
Key config can be found in: GTALUA\addons\cmenu\settings.cGUI-Key-Binds.lua
Menu Open = Numpad . or Z or X
Menu Close = Numpad . or Ctrl + Z or Ctrl + X
Menu Back = Numpad 0
Menu Down/Left/Up/Right = Numpad 2,4,6,8 or MOUSE-WHEEL also goes Up/Down.
Menu Select/Activate = Numpad 5 or MIDDLE-MOUSE-BUTTON
Menu Open (when closed) = Z
Menu Back/Close (when open) = Z
Hot Menu’s (most used) = X
=====================
== Flying Controls ==
=====================
Fly Forward = Sprint(shift)
Fly Down = Sneak(left-control)
Hold Position = Jump(space)
*NOTE* Requires Self -> Fly v2
*NOTE* You can fly faster the higher you fly.
======================
== Ragdoll Controls ==
======================
Toggle On/Off = Horn (E on keyboard by default)
Flip Forward = Accelerate
Flip Backward = Brake/Reverse
Spin Left = Turn Left
Spin Right = Turn Right
Upward Boost = Space
*NOTE* Requires Self -> Fly v2 and Self -> Fly v2.0 Ragdoll Button
================
== Quick Keys ==
================
Quick-Rope = “MP_TEXT_CHAT_ALL” (which is T by default)
Quick-Fix-and-Heal = KEY_6
Quick-Visual-Upgrade = KEY_7
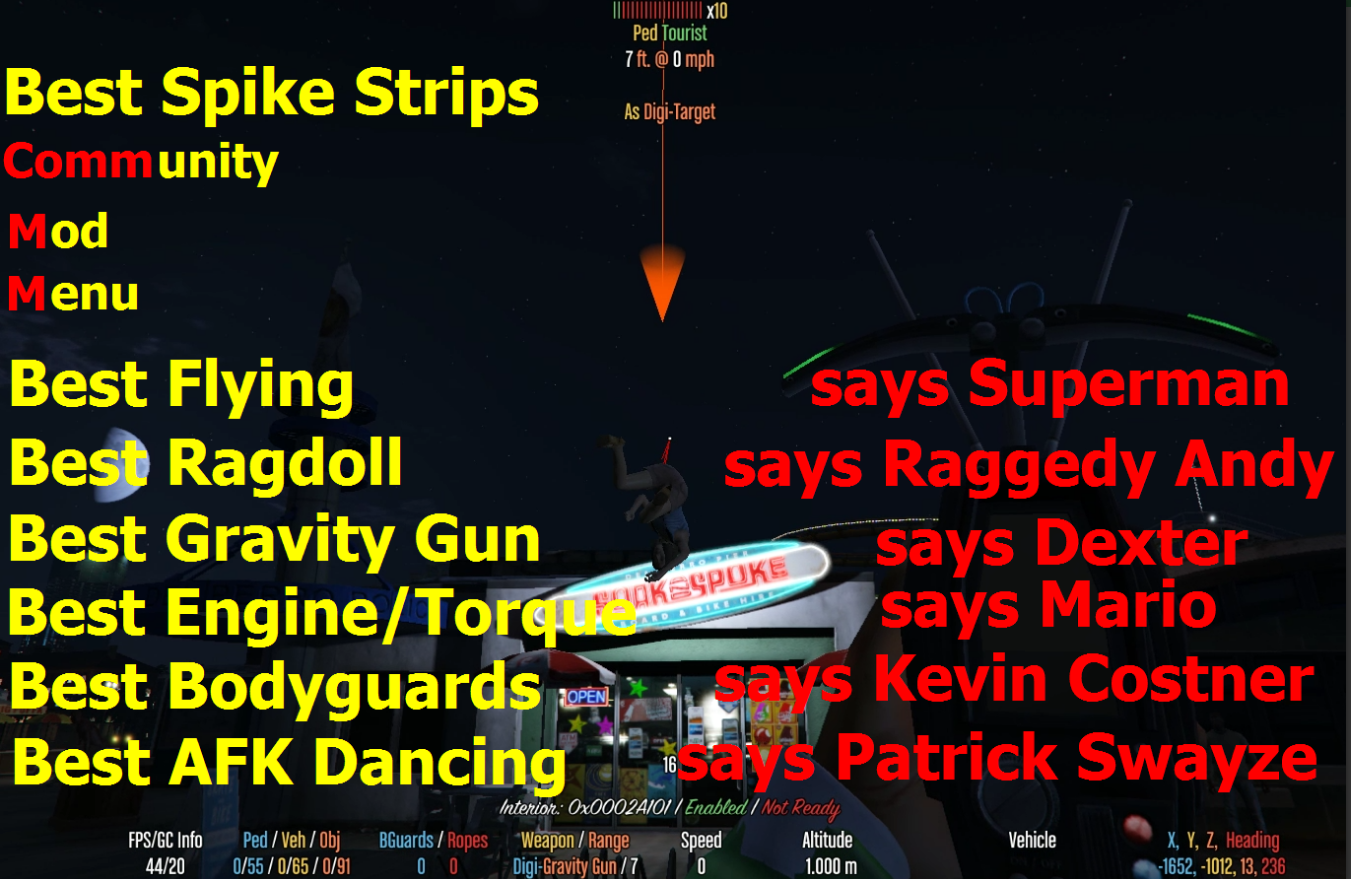
==================
== Spike Strips ==
==================
Drop 10 Spikes = SPRINT + HORN or SHIFT + E
*NOTE* If Ramps are not enabled, then the hotkey is simply HORN or E while in a vehicle. Is still SHIFT + E if on foot.
================
== Insta-Ramp ==
================
Enable/Disable Feature = Sneak(lctrl) + Sprint(shift) + HORN , when in a vehicle.
Spawn Ramp = Tap HORN
Cycle Ramp = Sneak(left_control) + HORN
Remove Ramps Newest to Oldest = HOLD HORN (every 51 frames, the most recently spawned ramp will be removed.)
*NOTE* Configure new ramps in: GTALua\addons\cmenu\settings.Ramps.lua
*NOTE* Find new ramps by using LUA console command: objects , example: objects ramp
==========================================
== Targeting and other In-Game Controls ==
==========================================
Lock Aimed Target A = Shift + Z
Lock Aimed Target B = Shift + X
Clear Locked Targets = Ctrl+Z or Ctrl+X
Switch Seat = L , or Sprint(shift)+L for going opposite way.
Power Meter Up = Sprint (shift)
Power Meter 100x = Double-Tap Sprint (shift)
Power Meter 1x = One-Tap Sprint (shift)
Launch – Vehicle Forward = Numpad +
Launch – Vehicle Backward = Numpad –
Launch – Stop Vehicle = Sprint(shift) + Numpad –
*NOTE* Launch controls require Vehicles -> Launch to be enabled
Back Seat Driver – Forward = Your Accel Button (W for me)
Back Seat Driver – Backward = Your Brake Button (S for me)
Back Seat Driver – Up = Your Accel and Brake Buttons (W and S for me)
*NOTE* Back Seat Driver controls require Vehicle -> Back Seat Driver to be enabled.
*NOTE* Back Seat Driver requires you are in any seat but the drivers seat.
Digi-Gravity-Gun = KEY_1 (above Q key)
Digi-Gravity-Distance-Physics = Mouse Wheel up/down for +/- distance.
Digi-Gravoty-Distance-SetCoords = Sprint(Shift) + Sneak(Ctrl) + Wheel up/down
Digi-Unfreeze-GiveGrav = Right-Click – This is the ‘clear/reset’ action, basically undoing what the rest of the actions do.
Digi-Unfreeze-TakeGrav = Sprint(Shift) + Right-Click
Digi-Freeze = Sneak(Ctrl) + Right-Click
Digi-Hogtie Ped = Sneak(Ctrl) + Left-Click – When releasing ped. So, pick ped up, hold Ctrl, then click again.
Right-Click Releases will not use power to launch the ent, but it will allow the ent to keep traveling however they were before you let go of them.
Right-Click actions dont require you to pick up your targets first. If you want to freeze a car quickly, hold Ctrl then Right-Click and they will indeed be frozen.
*NOTE* If you are inside (house/strip club/store/etc) or in a vehicle and want to use the Digi-Scanner, you must enable the “Give Digiscanner Loop” option.
As such, the menu to do this is automatically displayed when pressing 1 or 2.
NOTE 1: Gravity Gun Modes
There are two modes after you pick up an entity.
One is ‘physics’, the other is ‘set entity coords’.
For peds and vehs, default is physics, unless range is > 350
For objects, default is controlled by the “Spawn Frozen” option, in Objects menu.
If “Spawn Frozen” is enabled, then objects are moved with set coords and frozen in place.
If “Spawn Frozen” is disabled, then objects are moved with physics, up to 350 meters.
A good object to use in physics mode, is simply ‘rock’. Spawn custom name, type rock, have a blast.
You can force Set Coords mode, by holding Sprint+Sneak when doing mouse wheel (if ents get stuck, etc)
NOTE 2: Peds as Propulsion.
1) Digi-Scanner -> Give Digiscanner Loop
2) Get in any vehicle
3) Find and rope a ped ( Peds -> Orders to Painted -> Rope Painted A )
4) Use mouse wheel to control distance, thus causing peds to pull you like reindeer. Crazy good handling if used right.
5) The Power Meter dictates how much distance a mouse wheel tick is worth. Try power of 1x for ‘fine’ results, or 100x for ‘wtf just happened’ results.
6) When done using the ped as a Blood Bag (Mad Max), try Shift+Right-Click to release, turning them into a ped-balloon.
===========================
== Water Sports Controls ==
===========================
Control the ocean like a god… or something…
Enable/Disasble = Ctrl + Down Arrow
Wave Height = Left Arrow / Right Arrow
Radius = Ctrl + Left Arrow / Ctrl + Right Arrow
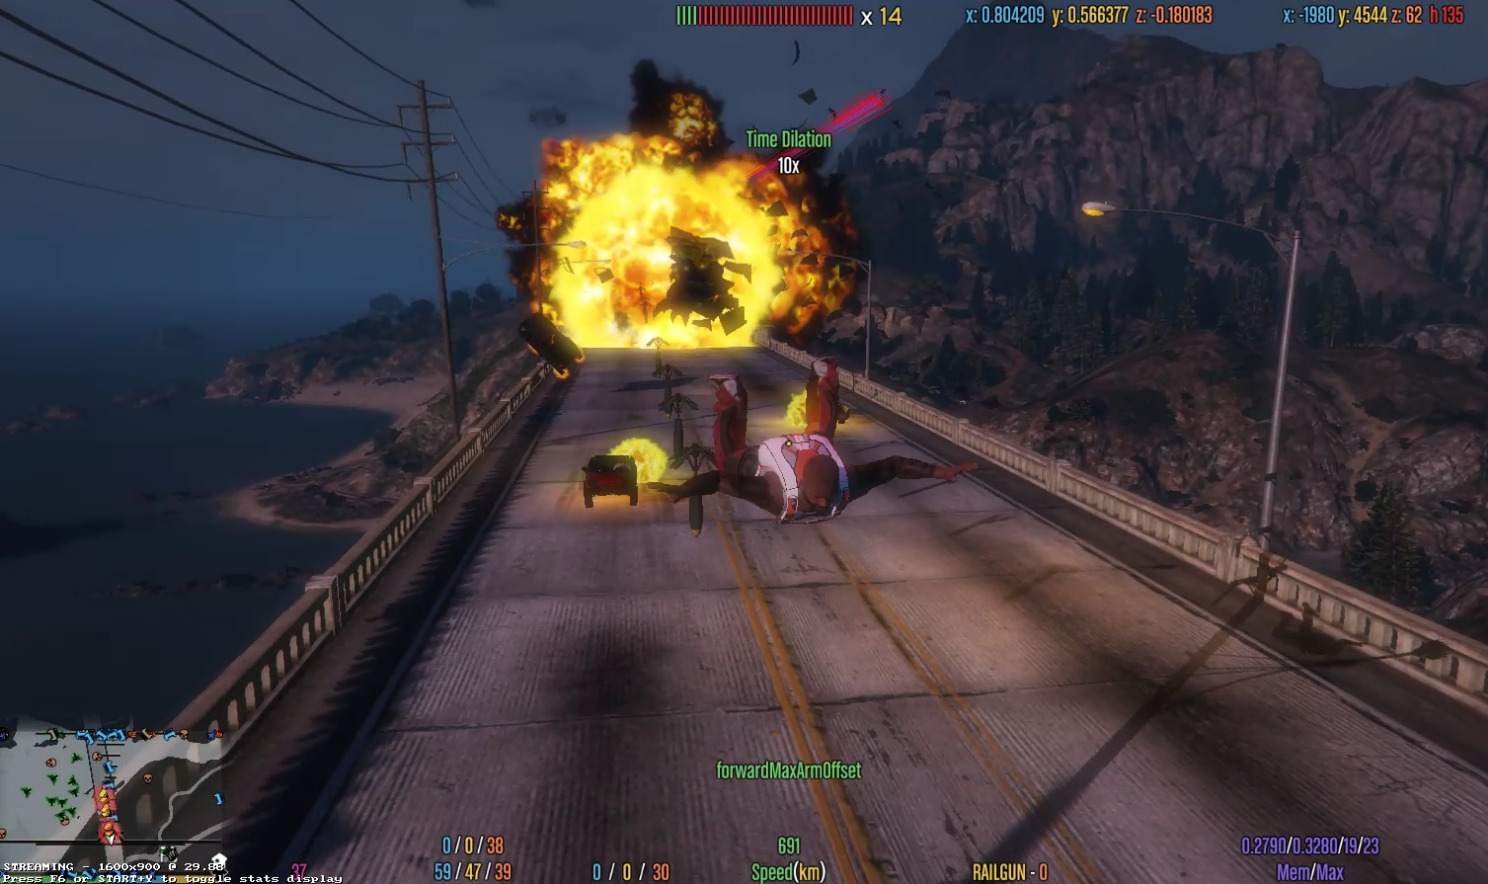
=====================
== The Power Meter ==
=====================
The Power Meter (visible at the top of the screen) greatly effects many of the mod menu features.
It looks like ||||||||||||||||||||||| x1
Its power ranges from x1 to x100
It can be increased by holding sprint.
It can be maxed quickly by double-tapping sprint. ( no need to hold sprint after setting )
It can be reset to x1 by one-tapping sprint.
Below is a short list of features effected by the power meter.
– Self -> Max Endurance = A higher power will make you run faster and hit harder (much harder).
– Vehicles -> Engine Power/Torque = A higher power will give more power/torque and lessen wind resistance. x100 power is usually too much for most vehicles, but works well with Rhino and other large or slow vehicles.
– Vehicles -> Back Seat Driver = A higher power will increase the force applied to the vehicle.
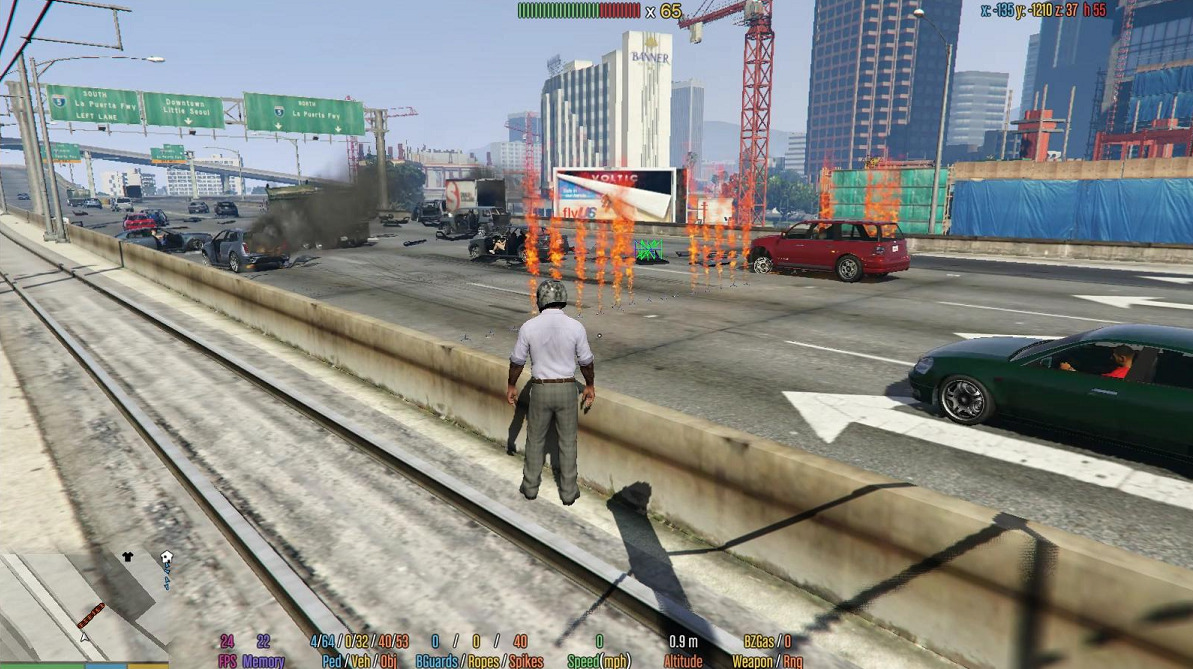
– Weapons -> Rapid Fire = A higher power will make you shoot faster and with more damage. A x100 powered sniper rifle can set a car on fire in 1 shot.
– Digi-Scanner -> Gravity Gun = A higher power will throw peds/vehicles/objects harder.
– Digi-Scanner -> Teleport Gun = A higher power will teleport you further, with a max of 1000km at x100 power.
=====================
== Advanced Flying ==
=====================
Why does flying feel like falling without grace in most other mods? It simply should not be this way!
Therefore; Toggle Self -> Fly v2 on and look like a dork no more.
Controls:
Sprint(shift) = Fly Forward – You can fly faster the higher you fly.
Sneak(left-control) = Fly Down
Jump(space) = Hold position (If flying fast, you are slowed quickly but not instantly to a stop.)
========================
== Advanced Targeting ==
========================
Most mods require you to ‘aim’ at targets to acquire them.
This can piss off or simply scare off most peds.
This mod uses 4 separate systems to track/lock targets, enabling targeting-through-walls, and targeting at *very* long distances without aiming.
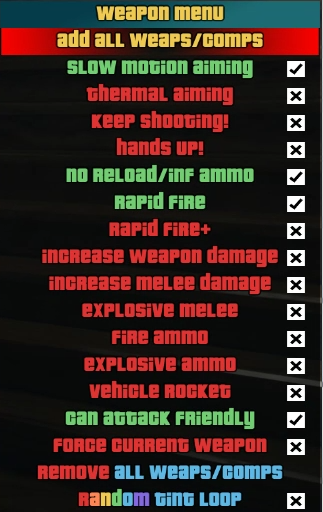
=====================
== Advanced Firing ==
=====================
If you enable Weapons -> Rapid Fire , Advanced Targeting is used to fire upon targets.
Ever want to stun-gun a ped from 700 meters away?
Or how bout taze one driving a car , at 900 meters?
One Shot a Blimp from 5000 meters away, with a pistol?
Double-Barrel a helicopter from 7000 meters?
Now you can.
=========================
== Advanced Bodyguards ==
=========================
Dont get me wrong, they’re still about as smart as a monkey with downs…
Their actions are contextual.
If you spawn a bodyguard while in passenger of a vehicle, and driver is free,
or if you switch seats and a bodyguard is also in the vehicle,
the bodyguard will take up drivers position and go in whatever direciton you point the camera.
If you place a waypoint on the map, your bodyguards will do what they can to rally at that point (also works for driver of your vehicle).
Landing? not yet, but soon? yes.. soon.
Try spawning a plane, moving to passenger, then spawn bodyguard(s).
===================
== Train Control ==
===================
Take a ride on the Reading Railroad.
Find a (non-metro) Train, Teleport into driver seat and use accelerate/brake to change the trains speed.
You can even stop the train, or go in reverse!
=================================
== Musically Talented Vehicles ==
=================================
1) Teleport to the Amphitheater
– Teleport -> To User Given Coords: 686 577 130
2) Disable warp into spawned vehicles
– Vehicles -> Spawn Vehicle -> Disable ‘Warp Into Spawned Vehicles’
3) Enable ‘Musically Talented’
– Vehicles -> Spawn Vehicle -> Enable ‘Musically Talented’
4) Spawn 9 of any vehicle. I suggest starting with motorcycles of some sort since they are easy to place.
– Vehicles -> Spawn Vehicle -> Spawn Vehicle by List – Walk and spawn 9 motorcycles.
If you mess up, you can remove last vehicle, or remove all vehicles and try again.
5) Set time to Midnight
– World -> Time -> Set to 00:00
6) Do-Ray-Me
– To trigger any vehicle horn, The menu itself must be closed. (so, close the menu)
– Now, Numpad keys 1-9 activate horns and by default, horns are set to Do-Ray-Me etc, etc, etc.
– Also, some horns play longer. To stop all horns, use Numpad 0
– It takes a few key presses for the horns to ‘wake up’ , so mash numpads 1-9 until you hear something.
– Try to play Do-Ray-Me
1 2 3 1 3 1 3
2 3 4 4 3 2 4
3 4 5 3 5 3 5
4 5 6 6 5 4 6
5 1 2 3 4 5 6
6 2 3 4 5 6 7
7 3 4 5 6 7 8
8 7 6 4 7 5 8
1 2 3 4 5 6 7 8
7) Wheres the other horns?
– 2 other hot-keys are now active.
– Numpad + and Numpad – cycle through the horn settings list.
– These profiles can be changed by editing GTALua\addons\cmenu\settings.Horn-Profiles.txt with any text editor.
– String together the star spangled banner, or make all the vehicles annoyingly play Flight-of-the-Bumblebee
8) When done, dont forget to disable ‘Musically Talented’, if only because of how annoying it can be when not making vehicles sing on purpose.
==============================
== New LUA Console Commands ==
==============================
Firstly, if anything you input in the LUA console is not recognized as a console command, it is assumed to be lua and executed as such. This is a huge change/bonus for deving.
alerts = Alerts you based on given text. Can set multiple alerts ( example: alert cash will highlight any time cash is seen. ). Use the objects command to find object names, then alerts command to add names to alert list.
entlist = Prints the object/vehicle/ped lists that are maintained and used for targeting and other purposes.
hash = Hashes any string and can tell you if the hash is valid. If hash is valid, it attempts to tell you what object the hash is associated with.
natives = Search/Display known natives.
objects = Search/Display objects
spawn = Spawn Props, Vehicles, Peds
stats = Shows a list of specific stats related to the mod menu and game.
tp = If given an ID, will teleport player to that ID. If given coords, will teleport player to those coords.
Changelog:
## 2016-06-23 ##
1) Objects List
– I wrote a script that scanned all possible/new objects.
– As a result; Objects DB has grown from 8,800, to 14,000+
– The Object unlock included with this mod removes need for other mods to unlock objects.
2) Vehicle List
– We should have all vanilla/multiplayer vehicles available.
– I also found the global that allows us to spawn MP vehicles in SP for this version, so no other mods needed to spawn them.
– New vehicles added this time:
Anger
APC
Ardent
Caddy3
Cheetah2
Dune3
HalfTracK
Hauler2
Insurgent3
Nightshark
Oppressor
Phantom3
Tampa3
Technical3
Torero
TRLarge (trailer large)
TRSmall2 (trailer small)
XA-21
3) No change to GTALua.ASI this time. \o/
## 2017-06-23-2 ##
– Removed 6 objects that were recently added that caused the game to crash when attempting to load them.
– Sifted through entire stack of 6000 new objects to confirm one remain that crash (me).
## 2017-07-07-1 ##
– Just a big ol bug fixing update. So many things were not operational because of a handfull of changes in last update. The handfull of things have been repaired, fixing a multitude of issues who depend on these things.
## 2017-10-24-1 ##
– Aligned release with local/stable version.
– Updated enums and other lists with most recent data available.
– Tweaked lua memory settings, hopefully fixing any ‘drag/lag’ effects experienced by users with slower computers.
## 2017-10-25-1 ##
– Found and updated the multiplayer vehicle unlock global.
– Will add new vehicles to vehicles.txt today and post yet 1 more version when complete.
## 2017-10-25-2 ##
– 1 Missing vehicle (Vagner) and a few trailers added to settings.vehicles.txt
## 2017-12-11-1 ##
– Huge cache of missing vehicles Found/Added:
ALPHAZ1, BOMBUSHKA, CYCLONE, HAVOK, HOWARD, HUNTER
MICROLIGHT, MOGUL, MOLOTOK, NOKOTA, PYRO, RAPIDGT3
RETINUE, ROGUE, SEABREEZE, STARLING, TULA, VIGILANTE, VISIONE
– Added a system that checks each .lua file to confirm natives exist in native_call_layout.ini and natives.ini
– Output look like:
cMenu.CheckNativesExist : GTALua/addons/cmenu/cMenu.lua
Exist: 68
Not Exist: 0
cMenu.CheckNativesExist : GTALua/addons/cmenu/cFUN.lua
Exist: 2734
Not Exist: 0
– If you modify a vehicles color with the COLOR menu, when leaving menu, settings are automatically saved.
– When you spawn that same vehicle again, saved colors will be applied.
– Next release, the customizations will also be saved/loaded (like wheel type, etc)
– Updated train speed changer to report proper speed (speed is in KMH)
– Found some outdated ‘GetKey’ code that, when updated, provided an immediate 25% speed increase.
– Hopefully this was the thing that caused a few people to lag before.
– There were several hundred other updates to other pieces to improve speed or fix old bugs.
– Since this was such a major update, I’ll likely release 1 more in the next 2 days to fix any new/obvious bugs.
Credits:
– Rappo – For hosting / Curation
– Alexander Blade – All our Daddy
– Jake Dreemurr – Beta Tester, Bug Stomper
– fgf9393@gta5-mods – Bug Victim/Reporter
– EyesBlue1988@gta5-mods – Beta Tester
– OHMYMODZ – “Essential Mod Menu” , which was the base of this menu.
– GTALua
Download mod
| File | File size |
|---|---|
| 2 MB |
![_pKeys.lua module [LUA Modders Resource] 1.0](https://gta5mod.net/wp-content/uploads/2019/08/pKeys.lua-module.png "_pKeys.lua module [LUA Modders Resource] 1.0")
 RC1")

 1.1")
![Get Info Mod [LUA] 1.5](https://gta5mod.net/wp-content/uploads/2019/08/Get-Info-Mod.jpg "Get Info Mod [LUA] 1.5")