


Tired of installing dozens of add-on cars and almost never seeing them in traffic? The VEHICLE SYSTEM OVERHAUL (VSO) puts YOUR add-on vehicles directly into single-player traffic — the right cars, in the right places, exactly the way you want.
VSO is additive: it doesn’t replace the original traffic, it adds your cars — spawning off-screen, at road nodes, by zone, with time-of-day, weather, and rarity rules. Los Santos finally filled with your garage.
FEATURES
– Custom zones — use the game’s native zones or draw your own on the map (4 points).
– Vehicle pools with per-car weight (rarity), time-of-day, and weather per model.
– Tuning 0–3 or random (performance, visual: spoiler, wheels, bumpers, and more).
– Neon, color palettes, and paintjobs/liveries.
– Dirt level and traffic density per zone.
– Custom driver (ped model) per pool.
– Adaptive FPS mode — automatically reduces spawns if FPS drops.
– In-game menu (LemonUI) — default key K, with test spawn.
– Everything controlled by a single .ini file.
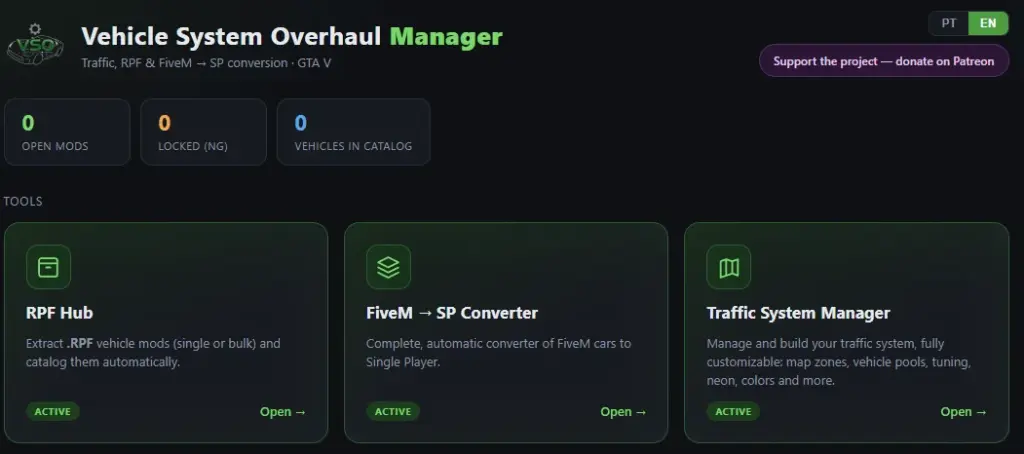
TRAFFIC SYSTEM MANAGER (included app)
A visual application (Portuguese and English) to configure everything without manually editing text:
– Draw zones directly over the GTA V map.
– Scan and catalog your add-on cars automatically (real vehicle name, make, and logo).
– Build pools and, with one click, save the mod’s .ini file.
REQUIREMENTS
– ScriptHookV
– ScriptHookVDotNet 3 (3.6.0 or higher)
– LemonUI (SHVDN3)
INSTALLATION
1. Install ScriptHookV, ScriptHookVDotNet 3, and LemonUI.
2. Copy VehicleSystemOverhaul.dll and VehicleSystemOverhaul.ini into your GTA V scripts folder.
3. Add the spawn names of your add-on cars to the .ini — or use the Traffic System Manager to do it visually.
4. Launch the game and press K to open the menu.
EDITIONS
The mod and the Traffic System Manager are completely free. Patreon supporters receive optional extra tools: RPF Hub (extract and catalog .RPF mods in bulk) and the FiveM -> SP Converter (with vehicle audio fix).
IMPORTANT
Single-player only. Do NOT use in GTA Online (risk of ban).
CREDITS
Alexander Blade (ScriptHookV), crosire and contributors (ScriptHookVDotNet), Justalemon (LemonUI).
Enjoyed the project? Support it and help with development:
https://www.patreon.com/GTAV_VehicleSystemOverhaul
How to calibrate the map — Traffic System Manager (done only once)
Calibration teaches the app the relationship between the map image and GTA V world coordinates. You do this once — after that, every zone you draw is exported with the correct in-game coordinates.
Step by step
1. In the Zones tab, select the “Grid (coordinates)” map — it has coordinates printed on it, which makes things much easier.
2. Click “Calibrate (2 known points)”.
3. Click a point on the map whose coordinate you know (e.g. the map center, 0,0). A box will appear — type the coordinate in X,Y format (e.g. 0,0) and confirm.
4. Click a second point, far from the first and diagonal (it must have different X and Y values from the first point). Type its X,Y coordinate.
5. Done! The status changes to “calibrated” and, as you move the mouse over the map, the in-game coordinates appear in the bottom corner.
Tips
– Distant and diagonal points: the farther apart the 2 points are, the more accurate the conversion. Avoid points on the same row or column (the app will reject them if X or Y are equal).
– Don’t know a point’s coordinate? Two options: (a) use the “Grid” map, which already shows marked coordinates; (b) in-game, go to the location and check your X,Y (via a trainer/coordinate menu) then find the same point on the map.
– Switching maps: after calibrating, you can switch between the 3 maps (Grid, Atlas, Satellite) — they are aligned, so the calibration remains valid.
– It’s saved: calibration is stored in the browser. Only redo it if you want to recalibrate or if you clear the app’s data.
Credits:
FRED4456
Download mod
| File | File size |
|---|---|
| 117 MB |

 360+ cars")


 V1.3")